Creating a custom widget with PyQt
Write a Python program to create a custom widget by subclassing QWidget using PyQt. This widget should have a unique appearance or behavior.
Note:
The QWidget class is the base class of all user interface objects.
From doc.qt.io:
QApplication Class: The QApplication class manages the GUI application's control flow and main settings.
QWidget: The QWidget class is the base class of all user interface objects.
Qt module: PyQt5 is a set of Python bindings for the Qt application framework. It allows us to use Qt, a popular C++ framework, to create graphical user interfaces (GUIs) in Python.
QPainter Class: The QPainter class performs low-level painting on widgets and other paint devices.
QColor Class: The QColor class provides colors based on RGB, HSV or CMYK values.
Sample Solution:
Python Code:
import sys
from PyQt5.QtWidgets import QApplication, QWidget
from PyQt5.QtCore import Qt
from PyQt5.QtGui import QPainter, QColor
import random
class ColoredCircleWidget(QWidget):
def __init__(self):
super().__init__()
# Set initial properties
self.circle_color = QColor(255, 0, 0) # Red
self.setAutoFillBackground(True)
def mousePressEvent(self, event):
# Change the circle's color when clicked
self.circle_color = QColor(
random.randint(0, 255),
random.randint(0, 255),
random.randint(0, 255)
)
self.update() # Trigger a repaint
def paintEvent(self, event):
# Paint the colored circle
painter = QPainter(self)
painter.setBrush(self.circle_color)
painter.setPen(Qt.NoPen)
width = self.width()
height = self.height()
# Ensure the circle fits within the widget
radius = min(width, height) // 2
painter.drawEllipse(
(width - 2 * radius) // 2,
(height - 2 * radius) // 2,
2 * radius,
2 * radius
)
def main():
# Create a PyQt application
app = QApplication(sys.argv)
# Create an instance of the ColoredCircleWidget
widget = ColoredCircleWidget()
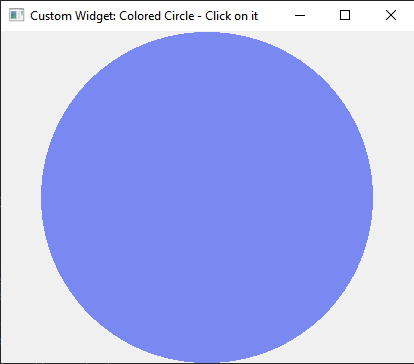
widget.setWindowTitle("Custom Widget: Colored Circle - Click on it")
# Set the widget's size
widget.setGeometry(100, 100, 300, 300)
# Show the widget
widget.show()
# Run the application's event loop
sys.exit(app.exec_())
if __name__ == "__main__":
main()
Explanation:
In the exercise above -
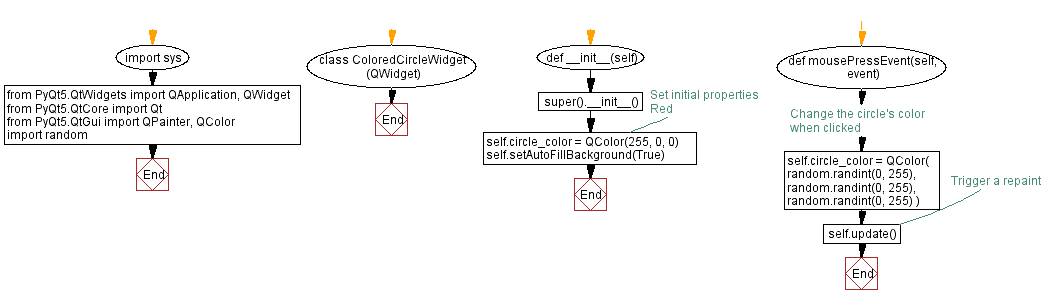
- Import the necessary modules.
- Create a custom widget ColoredCircleWidget by subclassing 'QWidget'.
- Initialize the widget with 'red' as the initial circle color.
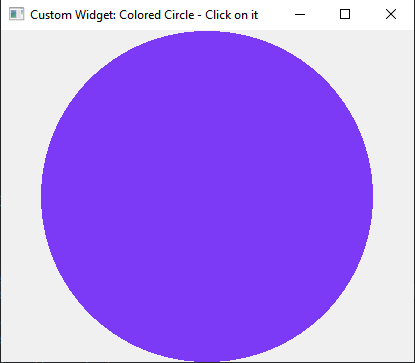
- The mousePressEvent method is overridden to change the circle's color when the widget is clicked. Additionally, the appearance is updated by repainting.
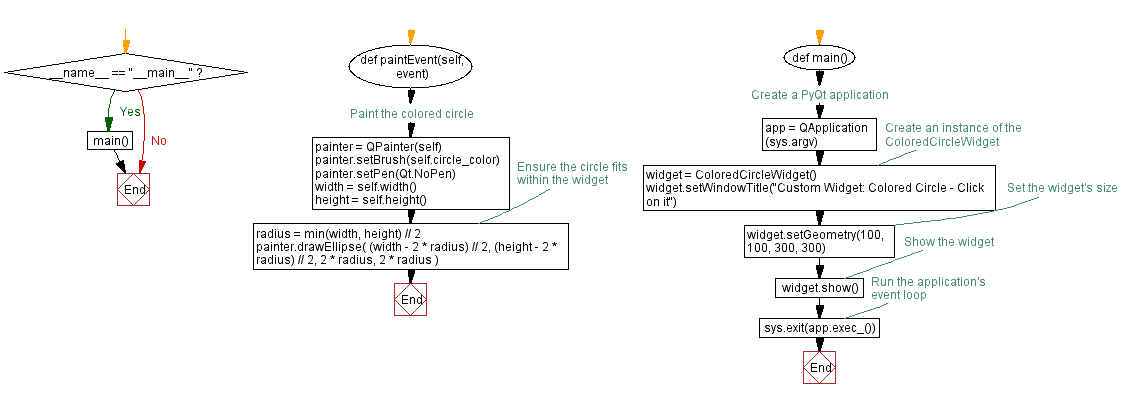
- The "paintEvent()" method is overridden to paint the colored circle using a 'QPainter'.
- Finally start the application's event loop.
Output:
Flowchart:
Go to:
Previous: Python PyQt text display application.
Next: Creating a custom widget in PyQt.
Python Code Editor:
What is the difficulty level of this exercise?
Test your Programming skills with w3resource's quiz.